What is the best way to clean a grease trap? You may wonder. Installing one is just the beginning. You also need to adhere to a regular cleaning schedule to keep the FOG trap in good working order all the time.
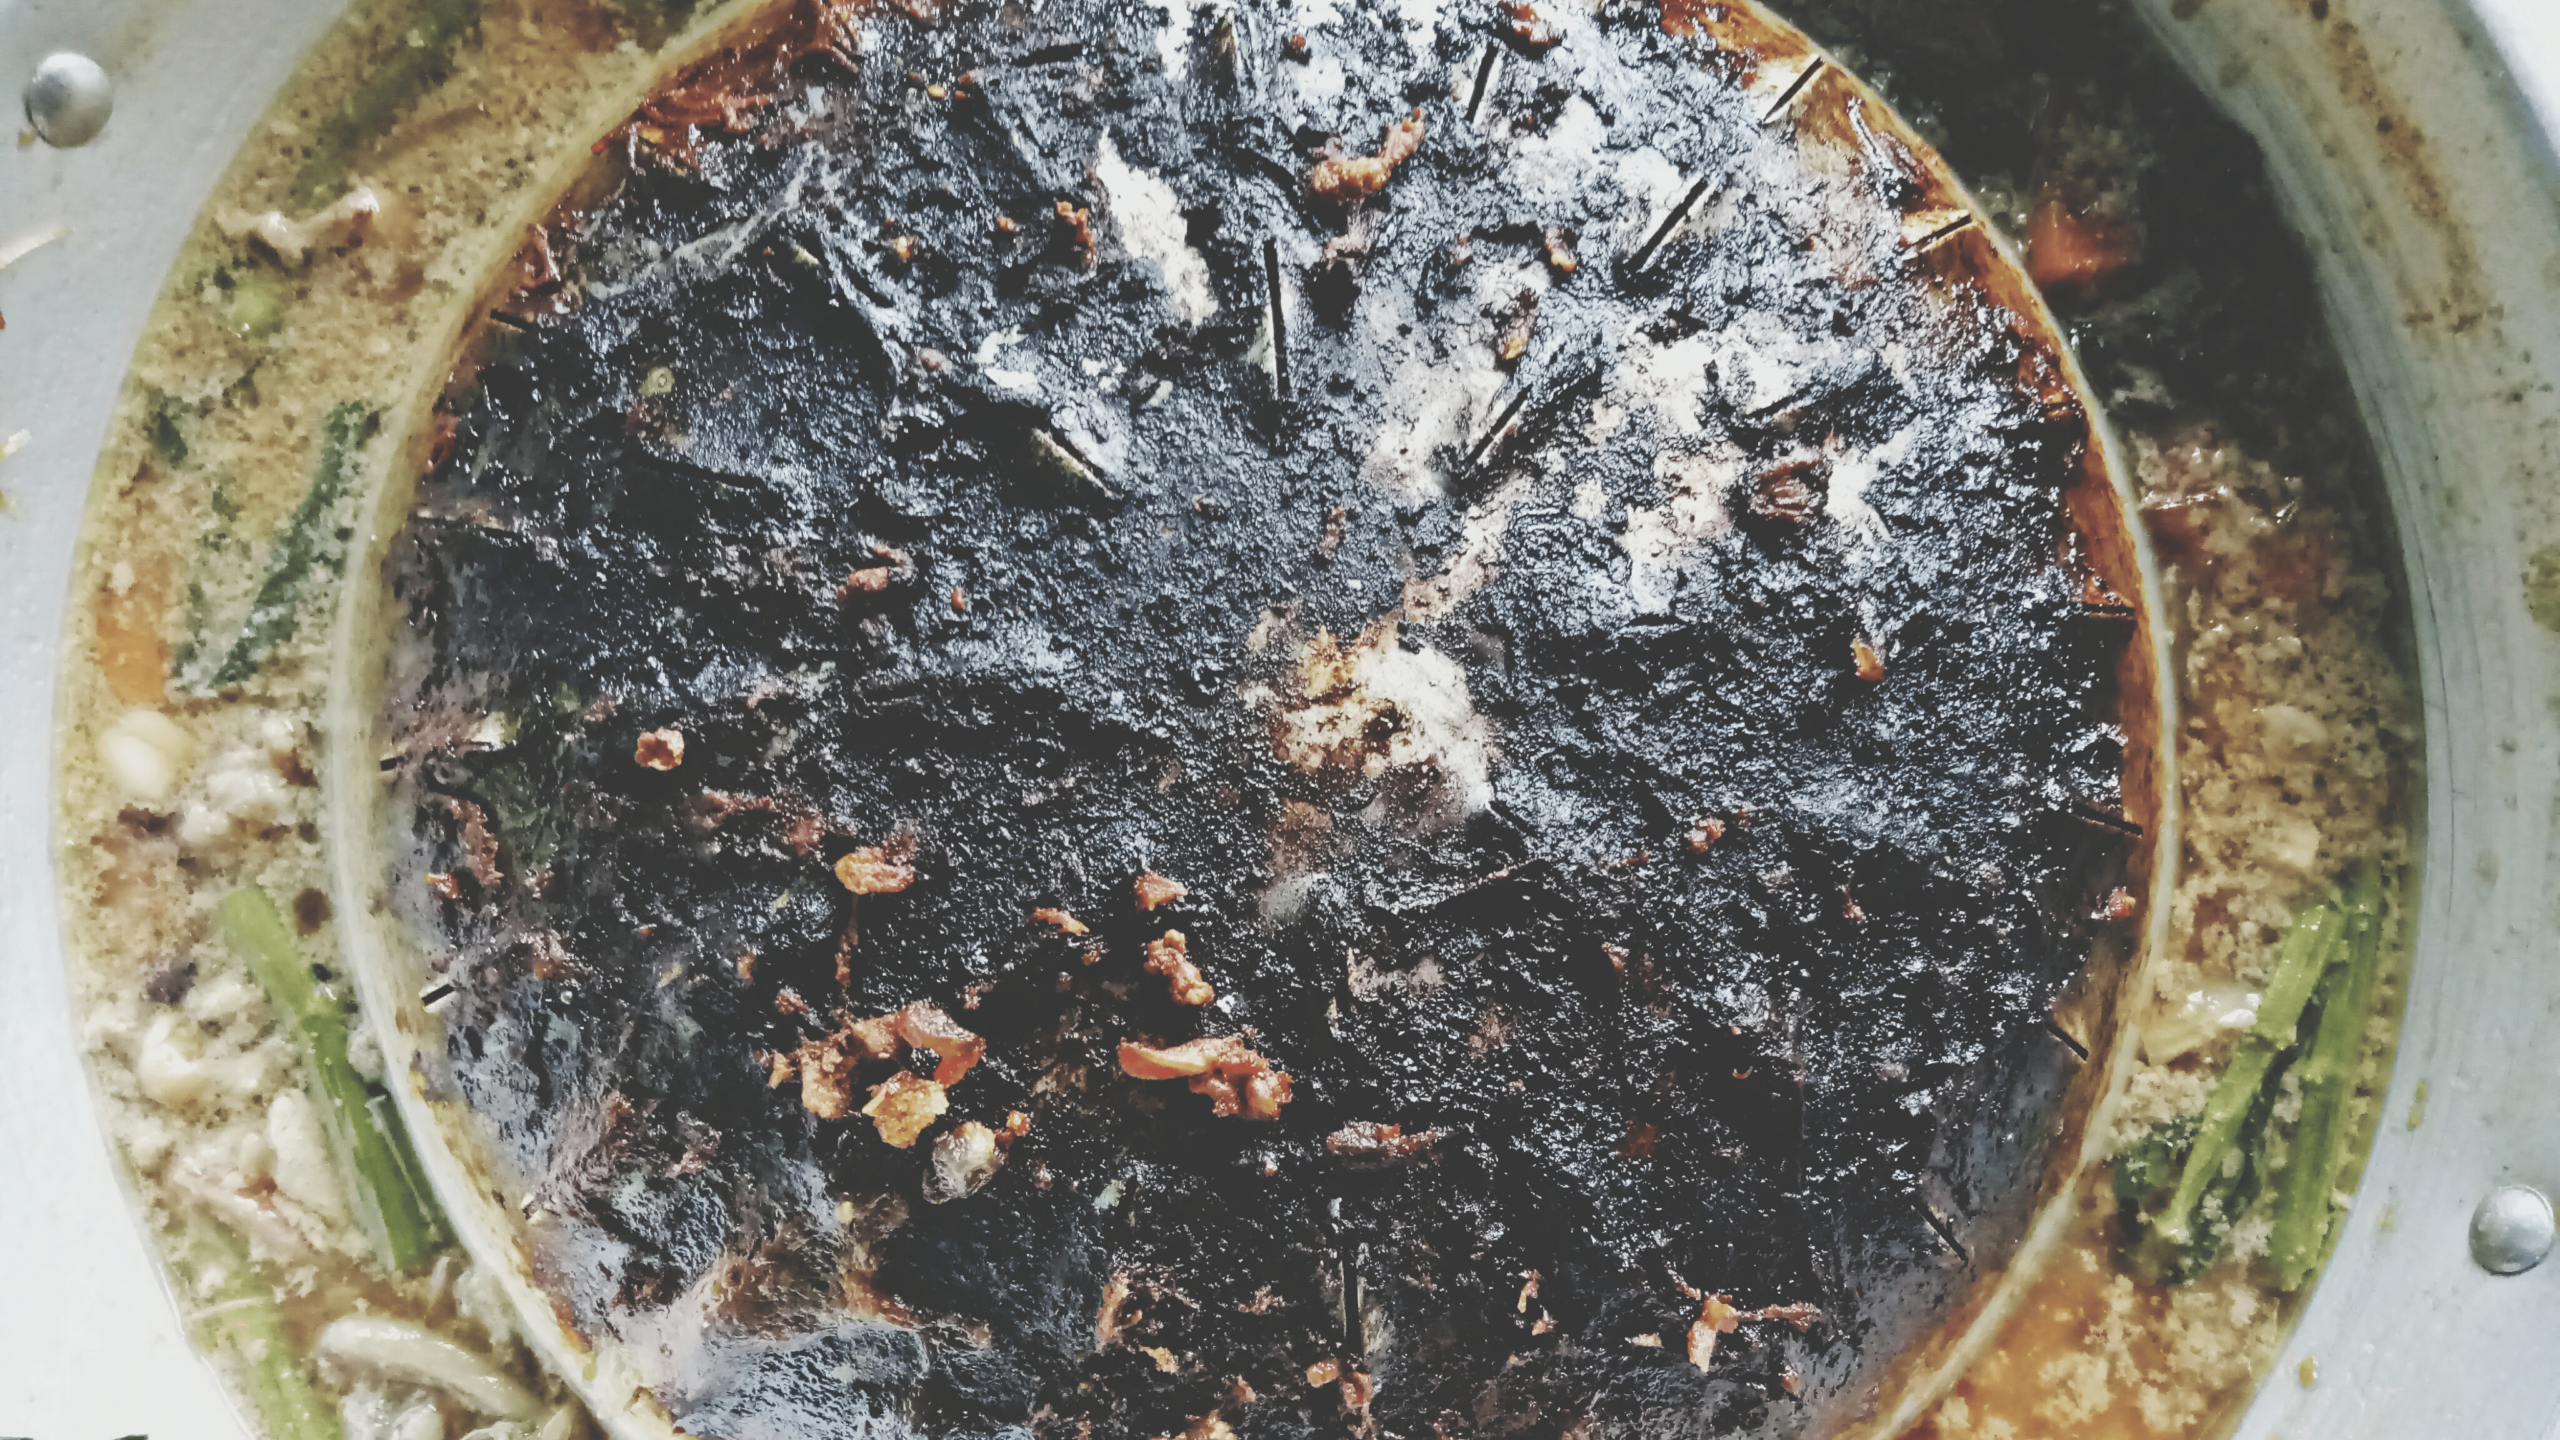
While they are very efficient at trapping fats, oils and grease, these tanks are messy. Keeping them clean is very important.
Poorly maintained FOG interceptors may cause effluent to start backing up into kitchen sinks, which is a health hazard.
When is the best time to clean a FOG tank?
Timing is everything. If one of your staff is cleaning the grease interceptor, have them do it early in the morning or after the kitchen is closed.
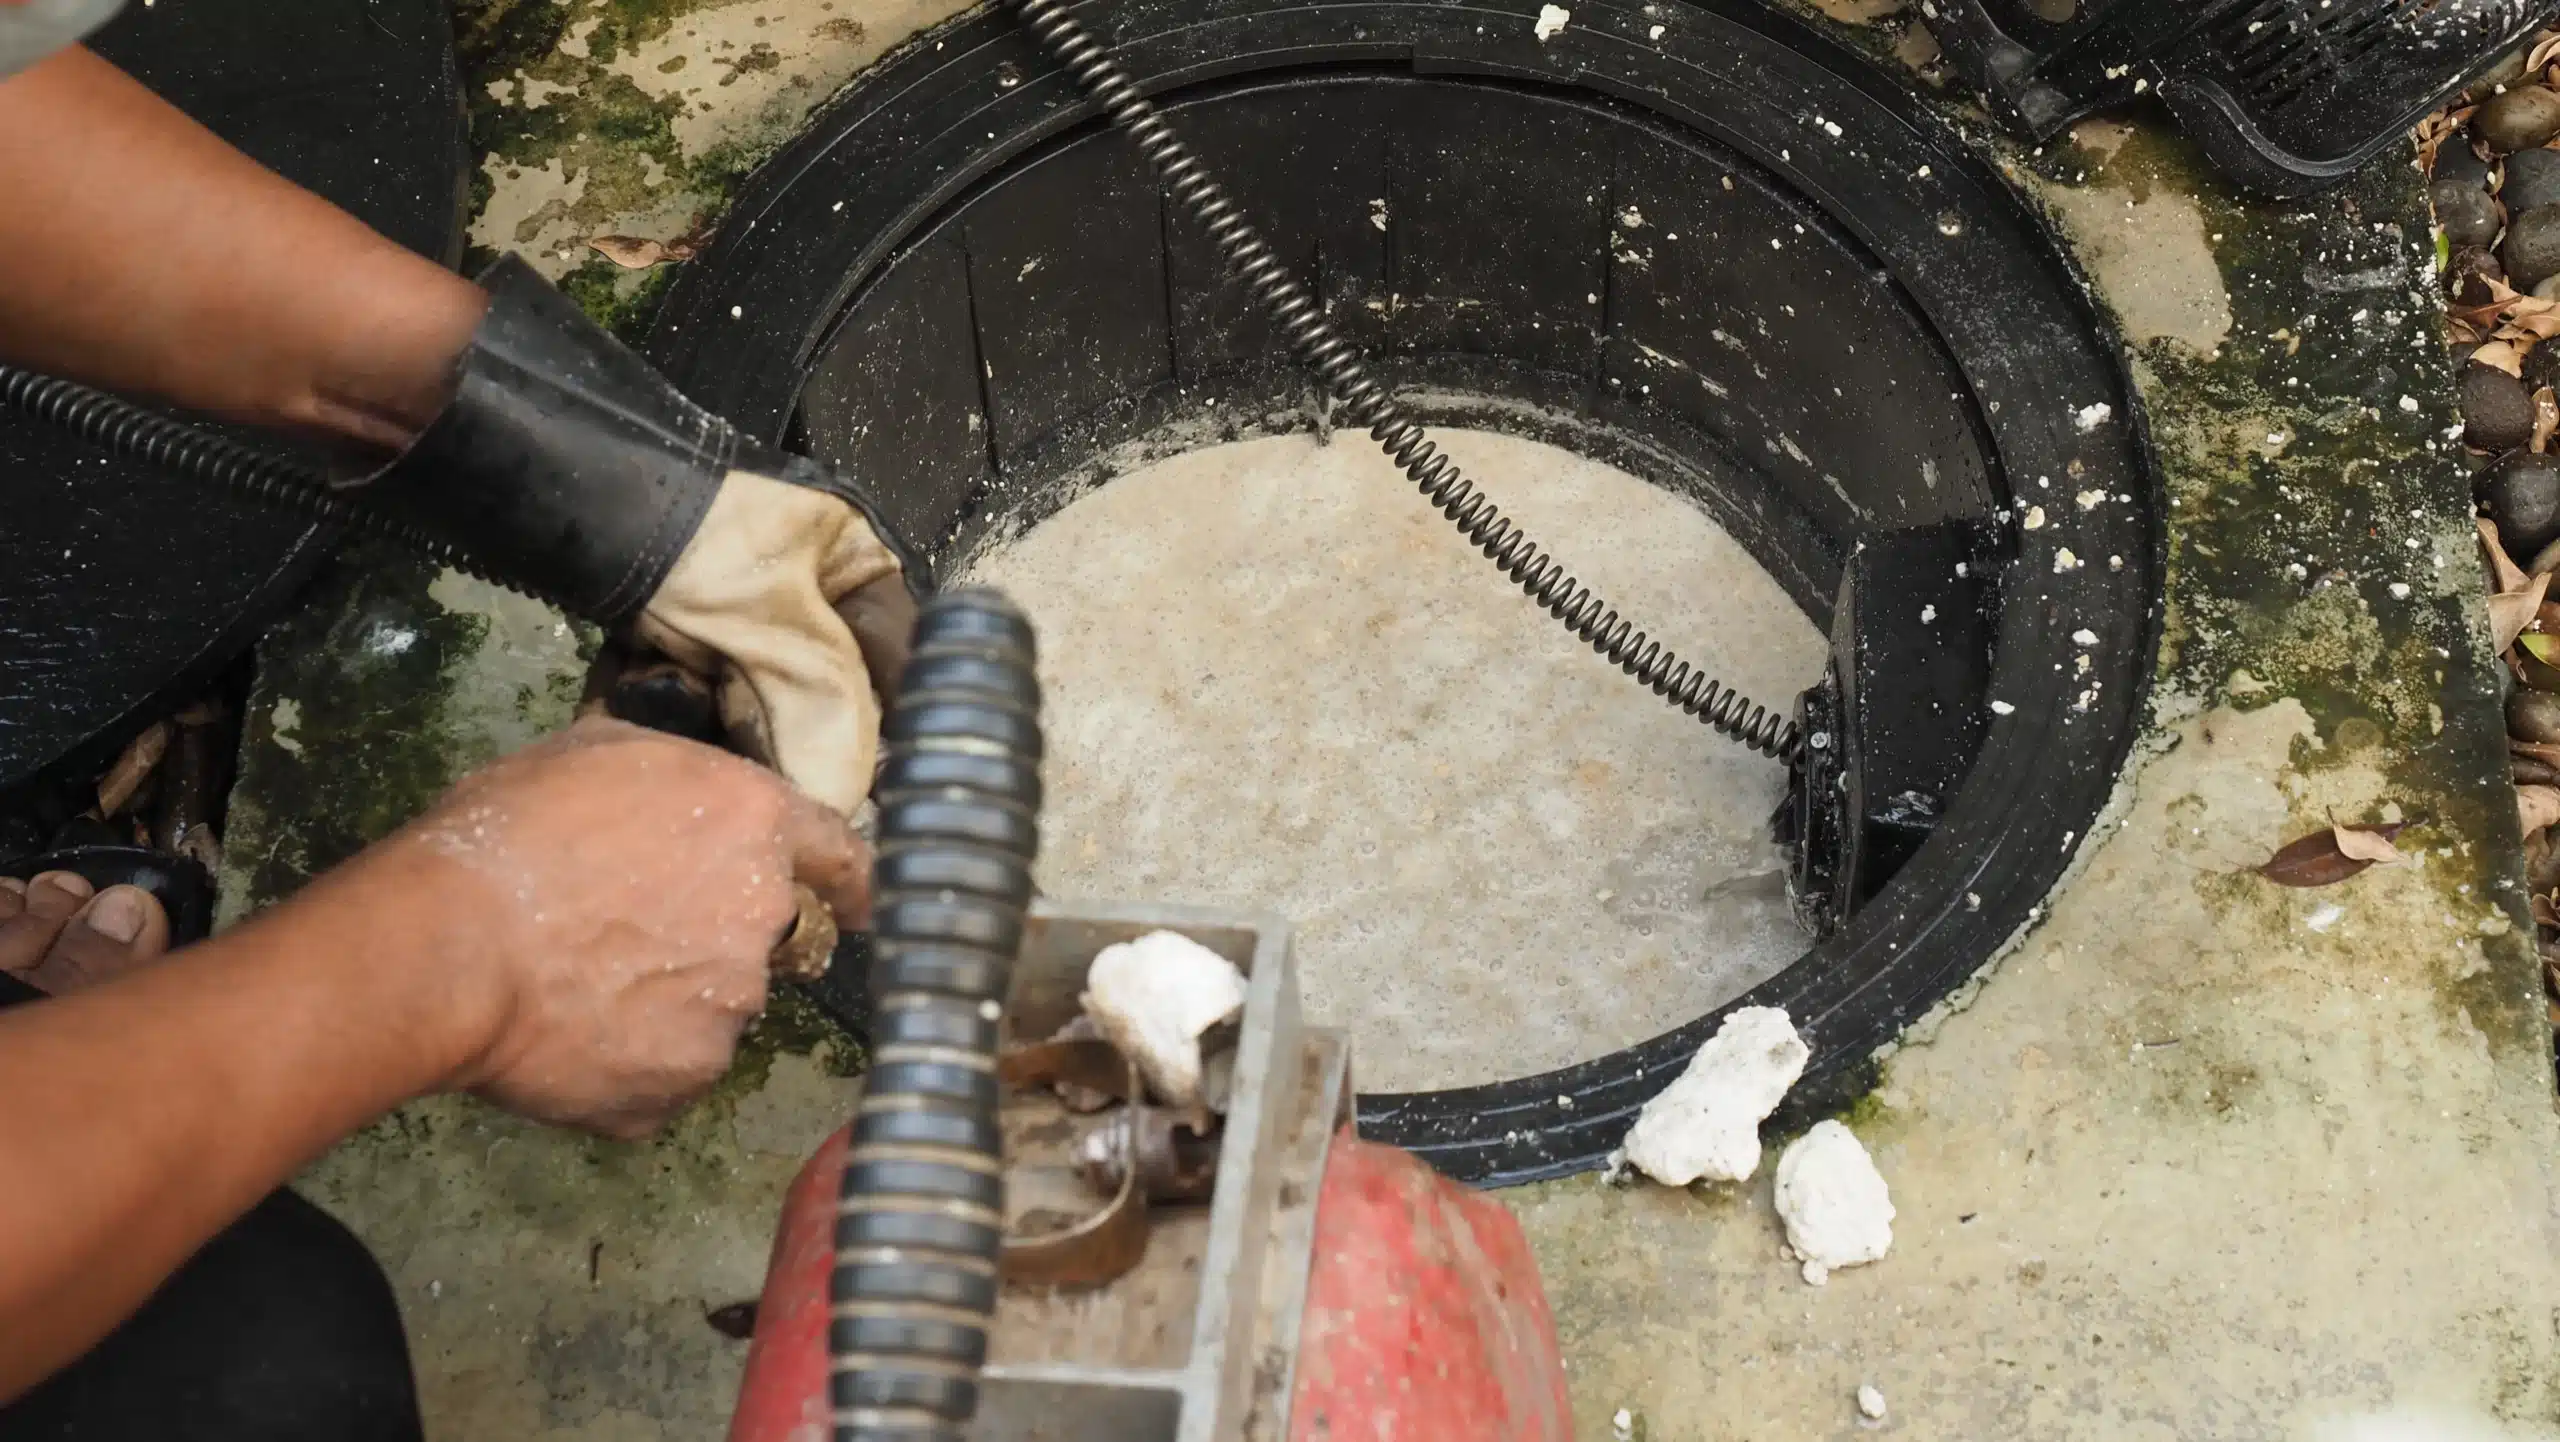
But remember, the size of the grease trap is the main determinant of whether you can clean it yourself or you’ll need the services of a grease trap contractor.
Most commercial grease traps range between 500 and 2500 gallons in size. Such grease trap sizes require a professional grease trap cleaning company.
For smaller grease traps mostly located inside the kitchen, you can clean them yourself. Depending on your state’s laws and regulations, you may need to acquire a license or permit to clean them.
Here’s what you’ll need when cleaning a grease trap:
• Rubber gloves – for protecting your hands when removing the grease trap’s lid and the FOG
• A tape – for measuring how deep the grass trap is
• Catch-basin scoop- for scooping and holding FOG before putting them in the garbage bags
• Garbage bags- for disposing of the FOG
• A nose plug or gas mask for protection from the grease trap’s bad odors
• Scrapers – for cleaning the tank
• A crowbar or wrench – for lifting the grease trap cover
• A shop vacuum- to suction the FOG
• Coveralls – To protect your clothes from grease and any other filth you may encounter during cleaning Now that you have all you need to start cleaning the grease trap, follow the procedure below for cleaning the grease interceptor.
Step 1: Turn off the dishwasher and sink taps
Before starting, ensure there’s no warm or hot water in the kitchen system. It will keep the grease and oils in liquid form, which makes it hard to scoop.
Hot water can also dissolve the grease and allow it to escape into the sewerage system. Cold water will allow the FOG to cool and float to the top.
Wait for about 10 minutes after the water has been released from the sink or the dishwasher.
Ensure the dishwasher is turned off and there’s no water from the sinks. You do not want water filling up the grease trap as you clean it.
Step 2: Wear old clothes under your protective gear
Before putting on the protective gear, wear old clothes that you don’t mind getting soiled. Clothes can absorb the smell and you don’t want your regular clothes carrying the nasty smell of rotten grease.
Also wear your gas mask, cover your hair, wear your gumboots, and lastly, put on your hand gloves.
Step 3: Remove the tank lid carefully
The grease trap cover is delicate and you need to remove it with care. If you are not keen, you could damage the gaskets under the lid. Using a wrench or a crowbar, detach the cover from the grease trap.
Step 4: Note parts of grease trap locations
Take note of the grease trap’s parts by taking a picture before you start cleaning. This will help you when you need to put everything back together.
Step 5: Evaluate the grease trap
Using the ruler, measure the depth of FOG to know how deep it goes. Further scanning will also show you any floating debris that may hinder the cleaning process. If there is any debris, remove it before proceeding with FOG removal.
Step 6: Place garbage bags in trash cans
You need to double-line garbage bags in a trashcan. The trash bags will hold the FOG sludge waiting for disposal. It also makes the semi-solid grease more manageable.
Step 7: Scoop out the grease
Using one of the catch basin scoops, slowly and carefully scoop out the grease on top without touching the water’s surface.
If water gets into the scoop, allow it to drain before putting its contents into the garbage bag-lined trashcans.
Keep scooping until you’ve scooped everything and only a small amount of grease is remaining. Keep the grease trap area barricaded if you take a break to avoid accidents.
Step 8: Vacuum the remaining contents
Using the shop vacuum cleaner, remove the water and any solids in the grease trap. Now the grease trap is empty, clean the grease trap’s sides, baffles, and lid. If there are grease particles in the grease trap tap’s recess, use the vacuum cleaner to suction them out.
Using dish soap, a steel pot scrubber and baking soda, scrub the insides of the grease trap. Using a spray nozzle and a garden hosepipe, rinse the grease trap, and blast away any residue inside the grease trap. You can then use the vacuum cleaner to suction all of the grease.
Pour clean water from the kitchen sink to see if any FOGs are blocking the drainages. If everything is draining smoothly, replace the grease trap’s parts.
Step 9: Dispose of the collected FOG
In the double-lined garbage bags, dispose of the collected FOGs at the local dumpster. You can mix the FOG sludge with the cat’s litter to solidify it.
Contact your local grease trap company in case of any damages to your grease trap or if you’ve collected large amounts of FOG. Most FOG trap contractors also recycle, or arrange for the recycling of the old grease.
Conclusion
Small grease traps should be cleaned after every 4-6 weeks. You can also use bacteria additives to break down the waste organically.
Bacteria additives reduce the times you need to clean the grease trap. Avoid using hot water to flush the kitchen sink as it liquefies the FOG.
This way, the grease will end up in the municipal sewer lines and eventually, they will start clogging the drainages.
You should engage professional services if your grease trap is more than 500 gallons in size. Besides, there is a high turnover rate of restaurant staff and you can’t keep training everyone that you employ.